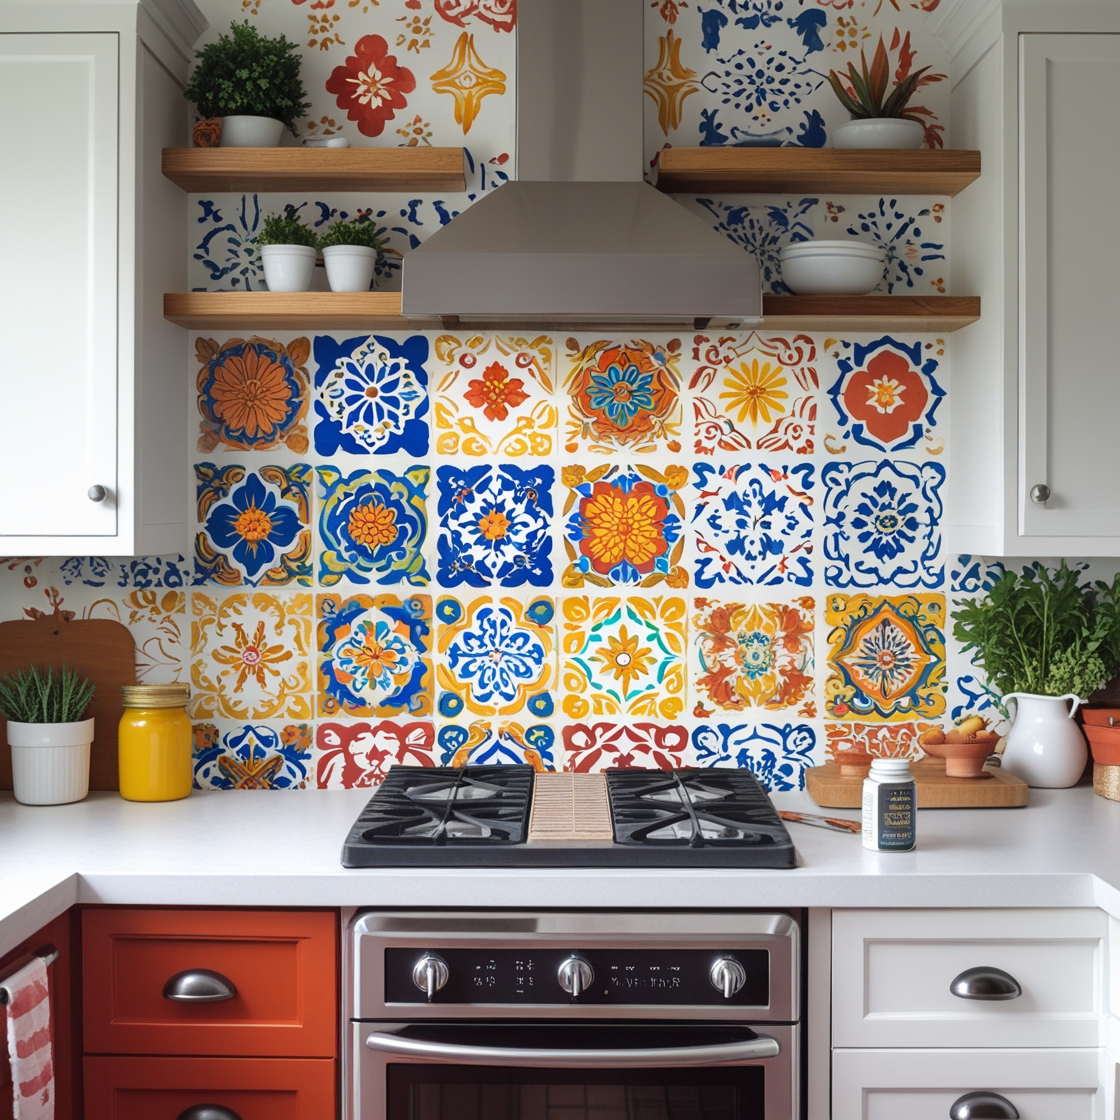
Are you dreaming of a vibrant, hand-painted Talavera tile backsplash DIY but stuck in a rental with limited renovation options? Good news: You can recreate that iconic Mexican flair using DIY faux Talavera tiles with stencils—no permanent changes, no pricey contractors, and no landlord complaints.
Table of Contents
In this step-by-step guide, we’ll show you how to achieve a renter-friendly Talavera tile look that’s affordable, reversible, and undeniably stylish. Plus, we’ve included links to trusted stencil kits and recommended sealants to help you complete your transformation with confidence.
Why Choose DIY Faux Talavera Tiles?
Talavera tiles are celebrated for their intricate hand-painted designs and bold color palettes. However, real tiles can be expensive and require permanent installation—two significant drawbacks for renters or budget-conscious decorators.
Faux Talavera using stencils offers major benefits:
- Cost-effective: Save hundreds compared to authentic ceramic tiles.
- Temporary: Perfect for renters or indecisive decorators.
- Customizable: Choose colors, patterns, and layout to suit your style.
- Beginner-friendly: No need for advanced tools or skills.
Supplies You’ll Need
To complete your faux backsplash, gather the following:
Stencil Kits (Talavera Style)
Available on Etsy, these kits replicate classic Mexican tile patterns.
🔗 Recommended Affiliate Links (Etsy):
- Talavera Stencil Kit – 6×6 inch Pattern
- Colorful Mexican Tile Stencils

Paints and Brushes
Use acrylic paint or chalk paint in vibrant hues (blue, yellow, red, teal, white).
- Small foam roller for base coats
- Stencil brush or sponge for details
Surface Prep Tools
- Painter’s tape
- Mild soap and a cloth
- Fine sandpaper (optional for glossy surfaces)
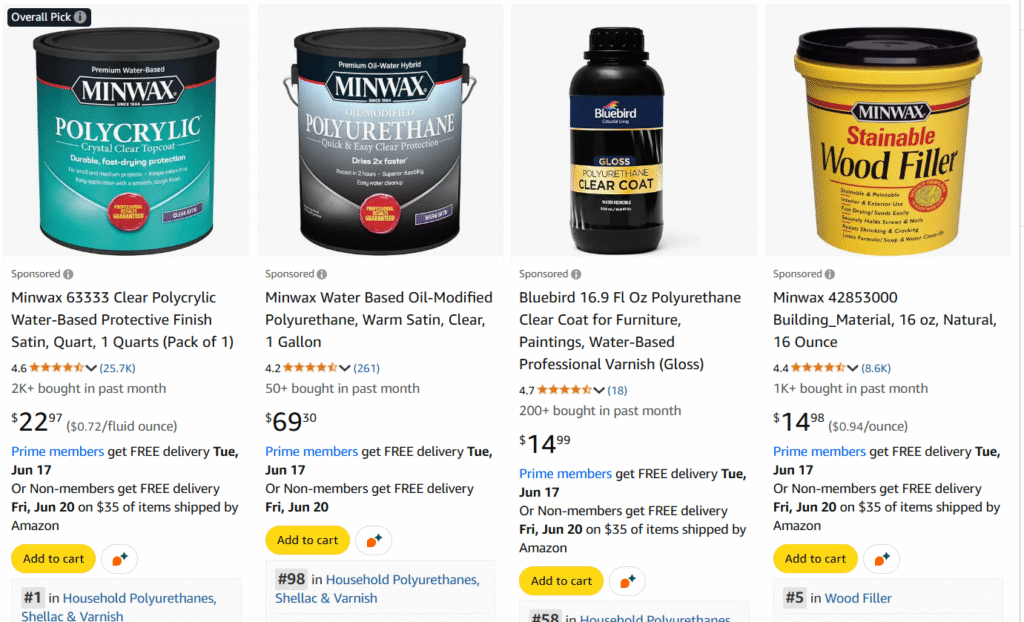
Sealants (Amazon Associates)
Use a clear, water-based polyurethane sealant to protect your work.
🔗 Recommended Affiliate Links (Amazon):
- Minwax Polycrylic Protective Finish
- Rust-Oleum Ultimate Polyurethane
Step-by-Step: Talavera Tile Backsplash DIY
Step 1: Prep Your Surface
Clean the area thoroughly with mild soap and water. If you’re working on a glossy backsplash, lightly sand it to help the paint adhere better. Dry completely before painting.
Step 2: Create a Base Color
Roll on a solid base coat (usually white or terracotta) with a foam roller. Let dry for at least 4 hours.
Step 3: Align and Tape Your Stencil
Use painter’s tape to secure your stencil. Measure carefully to align the pattern for a tiled look.
Pro Tip: Start from the center of the space and work outward to keep the design symmetrical.
Step 4: Apply Paint with the Stencil
Use a stencil brush or sponge to dab paint over the stencil. Work with minimal paint to prevent bleeding.
Let each section dry before moving the stencil to avoid smudging.
Step 5: Repeat and Layer
Use multiple colors for a more authentic Talavera style. You can alternate tile designs or keep it uniform—it’s totally up to you!
Step 6: Seal Your Design
Apply 2–3 coats of a clear, non-yellowing sealant to protect against moisture and stains.
Allow 24 hours for curing.
Best Surfaces for Faux Talavera Tiles
This renter-friendly hack works great on:
- Laminate or Formica backsplashes
- Painted drywall
- Wood panels
- Temporary vinyl panels (for ultra-removable designs)
Avoid using on textured or uneven surfaces for best results.
Cost Comparison: Real vs. Faux Talavera Tile
| Feature | Real Talavera Tile | Faux with Stencils |
|---|---|---|
| Average Cost | $15–$25 per sq. ft. | $2–$4 per sq. ft. (materials only) |
| Installation | Permanent (contractor needed) | DIY (reversible) |
| Time Required | Several days | 1–2 days |
| Best For | Homeowners, permanent upgrades | Renters, budget decorators |
Tips for Long-Lasting Results
- Let the paint dry completely between layers
- Use painter’s tape to avoid shifting stencils
- Apply sealant every 6–12 months for high-moisture areas
- Touch up chips with a small brush as needed
Inspiration from Real DIYers
Visit Pinterest or Instagram and search for:
- #FauxTalavera
- #DIYMexicanBacksplash
- #StenciledTiles
You’ll find stunning before-and-after photos, tips, and color combinations to personalize your project.
FAQs
Can I remove the faux tiles without damage?
Yes! If painted over a temporary panel or sealed laminate, it can be removed with minimal effort.
What if I mess up the stencil?
Keep touch-up paint handy and embrace imperfections—they add character, just like real Talavera.
Can I do this on a bathroom wall?
Absolutely, just ensure it’s well-sealed and not directly exposed to water.
Is this food-safe for kitchen backsplashes?
With a non-toxic, water-based sealant like Minwax Polycrylic, it’s safe for decorative kitchen use.
Conclusion: Bring Mexico to Your Kitchen—No Renovation Needed
A DIY faux Talavera tiles with stencils project is a creative, renter-friendly way to add color, heritage, and charm to your home. With just a few tools, a splash of paint, and a touch of patience, you can enjoy a backsplash that feels like it belongs in a sunlit Mexican courtyard.